Page 4 of 8
Posted: Sat Sep 05, 2009 2:47 pm
by Bwcad1
Y didnt you like the fleece?
Posted: Sat Sep 05, 2009 4:03 pm
by Ryan from Ohio
Probably the same reason I hate it... Takes WAY to much resin up.
Posted: Sat Sep 05, 2009 4:57 pm
by Tim
Ryan from Ohio wrote:Probably the same reason I hate it... Takes WAY to much resin up.
yep right on the nose. Or if Terry is around on the nipple LOL
tim
Posted: Thu Oct 08, 2009 5:33 pm
by Tim
hey dudes, got me sum updates for the build on my truck.
its been a while, and its not the best but im still learning so Im pretty pleased.
I'll make notes of what im not to happy with.
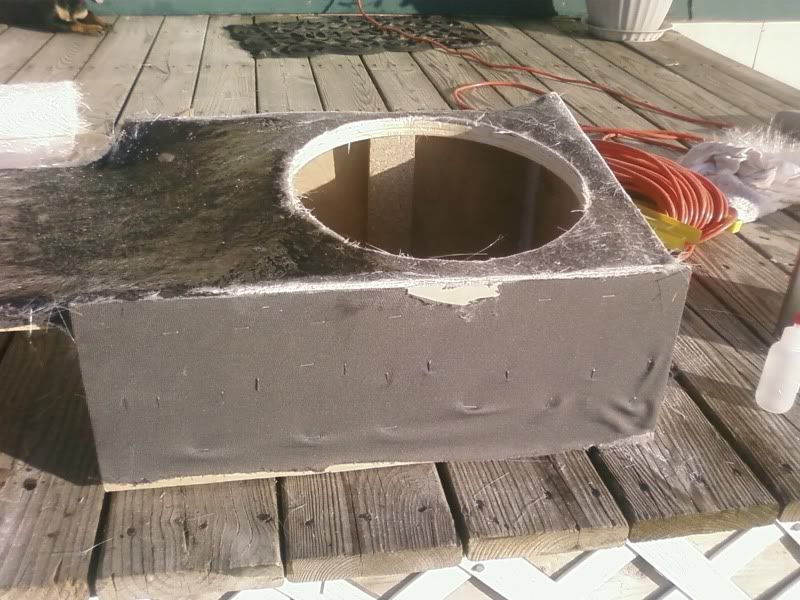
Right side still way wet with resin.
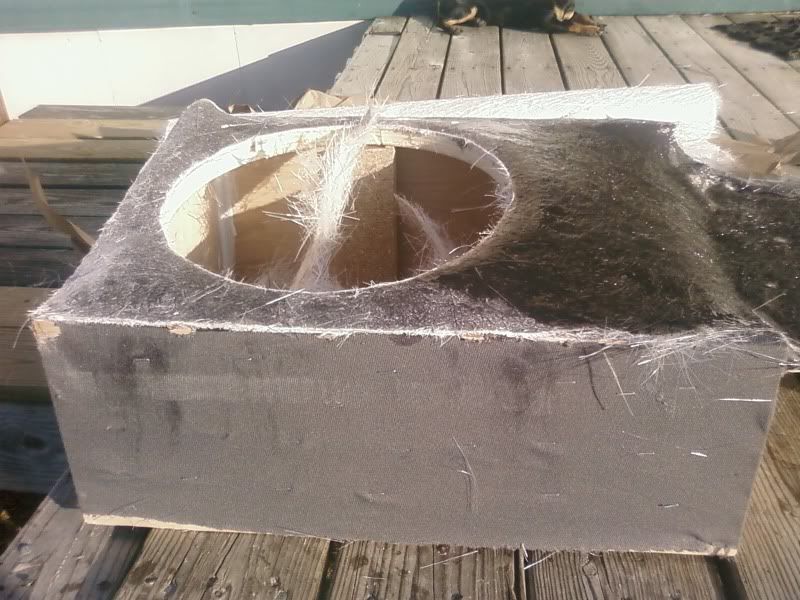
Left side same deal.
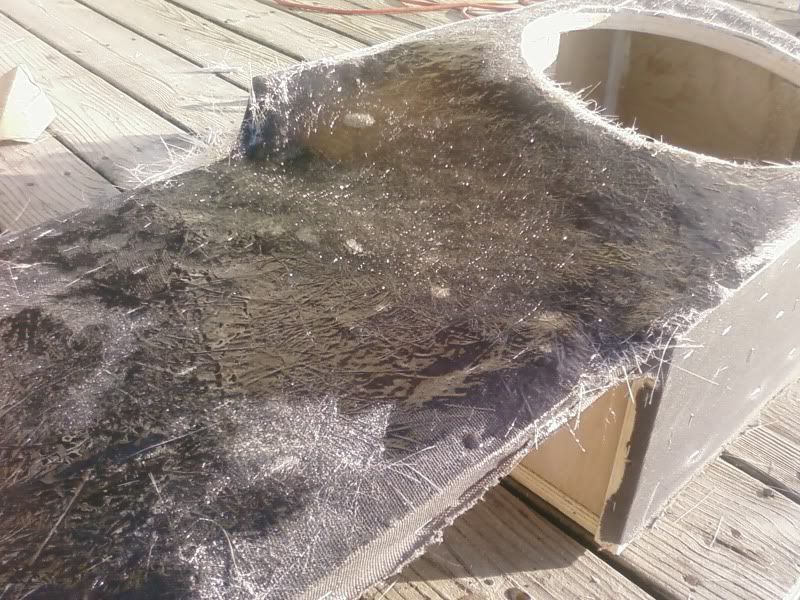
Here is what im not happy with at all, the bubbles. I think they came as a complimentary thing for buying the resin LOL. I got them taken care of though.
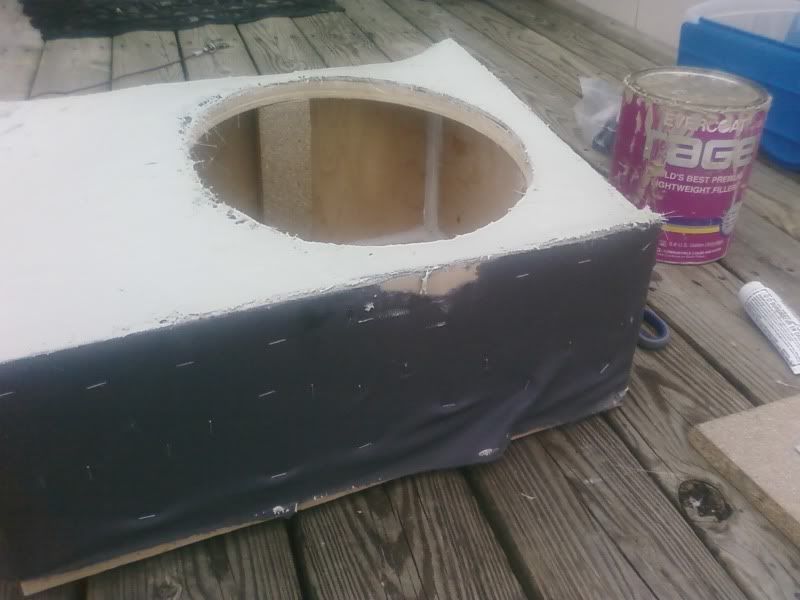
Right side with first coat of rage.
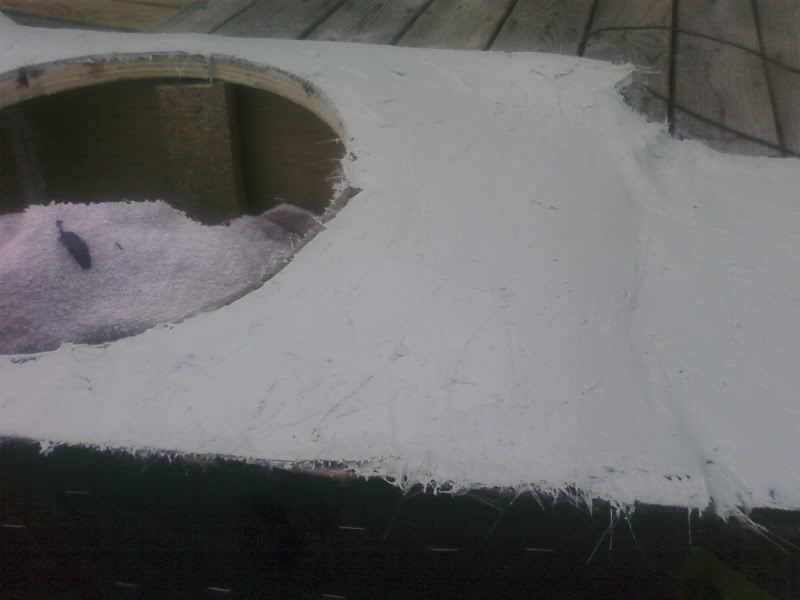
Left side same deal.
What is not told by the pix is the layers: 10 good, bubble free(mostly) layers. I did the "stand on it test" And it passed with the flying colors. Not so much as a groan, and I weigh in at about 220.
There is still lots of work to do, so stay tuned.
Thanks for looking,
Tim
Posted: Fri Oct 09, 2009 6:42 am
by MobileAudio219
10 layers should have it pretty good and strong! :happy055:
I'm about to start a similar project...
Posted: Mon Oct 12, 2009 12:14 pm
by Tim
MobileAudio219 wrote:10 layers should have it pretty good and strong! :happy055:
I'm about to start a similar project...
That is what Im hoping for. What are you gonna do?? any pix of it yet.
Tim
Posted: Mon Oct 26, 2009 2:49 pm
by Tim
Got some updates for ya:

Left side with some sanding

Left side with carpet and sub cutout.

Right side with some sanding

Right side with carpet and sub cutout.
Oh yeah there is an obvious time rift in the pix. I just really hit the highlights, as I didnt want to bore you with.." sanded the left side and put on more filler and sanded"

Full view of test fit in truck. The carpet doesnt even come close to matching. I had some jet black, and I almost think I woulda been better off using it. Overall though Im pretty pleased.
Thanks for looking.
Tim
Posted: Wed Nov 04, 2009 2:22 pm
by Tim
got a little more work done on my truck. I wanted to replace the door speakers and add a little sound deadner. Im not going after a SQ installation by any means, this is just a system that is built to enjoy. anyway there are a few little things that I didnt get pix of as it was getting dark out. You know like cutting out the holes for the clips for the doors, and I also didnt get a pic of the new speaker in the door. I will get those later though.
Anyway this is the drivers door and I still have the passenger side to do:
On with the pix.

Bare door.

Sound deadner laid out with the moisture barrier as a template.

Sound deadner on door.
Thanks for looking,
tim
Posted: Wed Nov 04, 2009 2:36 pm
by Ryan from Ohio
Gotta love putting deadner on...
Fun times...
hehe
Posted: Wed Nov 04, 2009 4:02 pm
by Tim
Ryan from Ohio wrote:Gotta love putting deadner on...
Fun times...
hehe
Yeah real fun lol. ONe down an one to go.
tim